Looping through Code in JavaScript

Hello there! I'm on a journey to become a full-stack web developer and looking forward to sharing my learnings through articles.
Loops are an essential part of programming and allow us to repeat certain actions until a certain condition is met. In this article, we will delve into the world of loops in JavaScript and the different types of loops available in the language. To get the most out of this article, I suggest you, have a basic knowledge of JavaScript first before going ahead. Here is my article you might want to check out to learn some basics:
Introduction to JavaScript.In this article, we will explore various types of loops in JavaScript and look at examples of each type of loop in action. We will be discussing
do...whileloop,whileloop, andforloop, and examine how they can be used to accomplish different tasks. Whether you're just starting with JavaScript or looking to deepen your understanding of loops, this article has something for you. By the end of this article, you will have a better understanding of loops in JavaScript, and be equipped with the knowledge to use them effectively in your code.
Definition:
Loops are used to execute a block of code repeatedly until a defined condition is met. JavaScript provides several loop structures, such as for, while, and do-while loops.
Why use Loops:
Let's take a scenario to understand the benefits of a loop. Consider that you want to print all even numbers from 0 to 20. For this, there is a simple approach as follows.
console.log(2);
console.log(4);
console.log(6);
console.log(8);
console.log(10);
console.log(12);
console.log(14);
console.log(16);
console.log(18);
console.log(20);
See the output in the console:
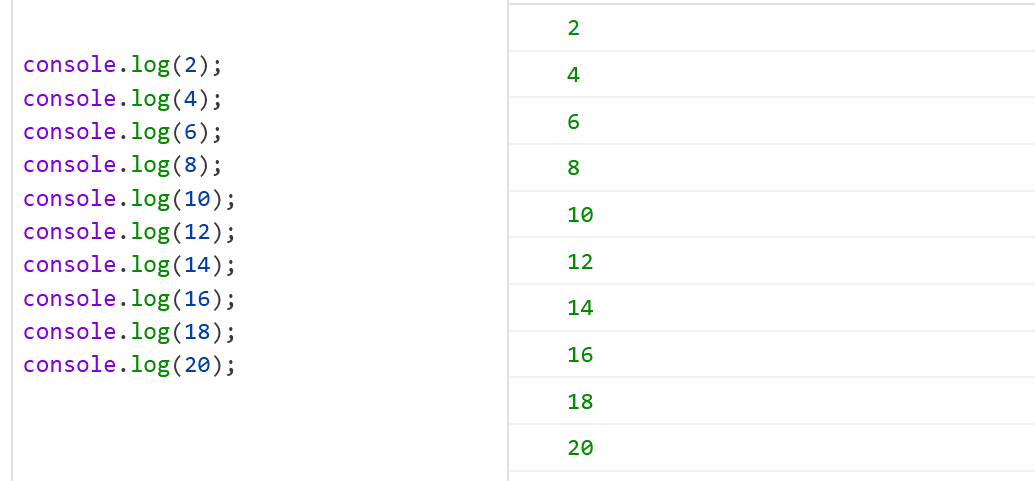
You will get the output of all even numbers from 0 to 20. But isn't it so hectic? to write down all numbers manually, and what if we forget any number or wrongly write an odd number? And What if we want all even numbers up to 100 or 1000, this method would be inefficient and take so much time and effort. Then there should be a way to make it workable. All we need to do to achieve this by running a piece of code multiple times. This kind of control flow is known as Loop.
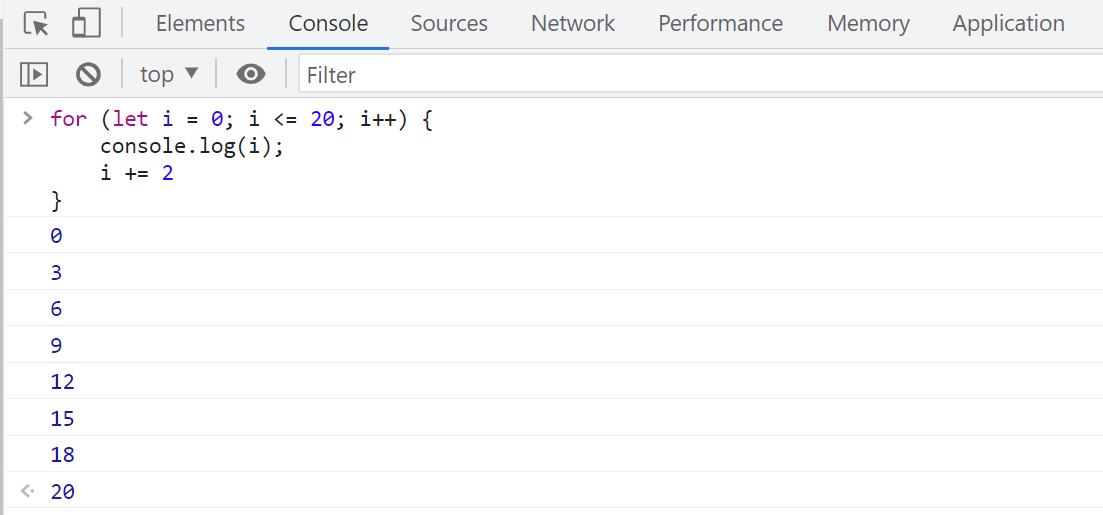
Let's how we are going to achieve the same result using a loop:
for (let i = 0; i <= 20; i++) {
    console.log(i);
    i += 2
}
In the previous approach, we wrote about 10 lines of code to get the desired result, but with the help of a loop, we required only 3 to 4 lines to make it happen.
See the output in the browser's console:
As you can see loops make our job easy and more efficient. In JavaScript, their many ways to define a loop including do-while loop, while loop, & for loop. I will be explaining each one of them later on.
Essentials of Looping in JavaScript:
Remember this, Every loop in JavaScript has three vital components: initialization, condition, and iteration.
The initialization:
This is used to initialize the setup for the loop, where a variable is declared. This variable will be used in the condition part of the loop to determine when the loop should end.For example:
let i = 0;.The condition:
Condition is a boolean expression that is checked before every iteration of the loop. If the condition considers to
true, the loop will continue to run, otherwise, it will quit the loop.
For example:i <= 20;.The iteration:
It occurs after each iteration of the loop. This step increments the value of the loop variable to ensure that the loop will eventually complete. This can be accomplished through the increment (
i++) or decrement (i--) of the loop variable
For example:i++ori--.
By incorporating these three essential parts, the loop continually runs a block of code until a specified condition is fulfilled. This makes loops a powerful tool for cracking a wide range of programming problems.
Different types of loops:
The do-while loop:
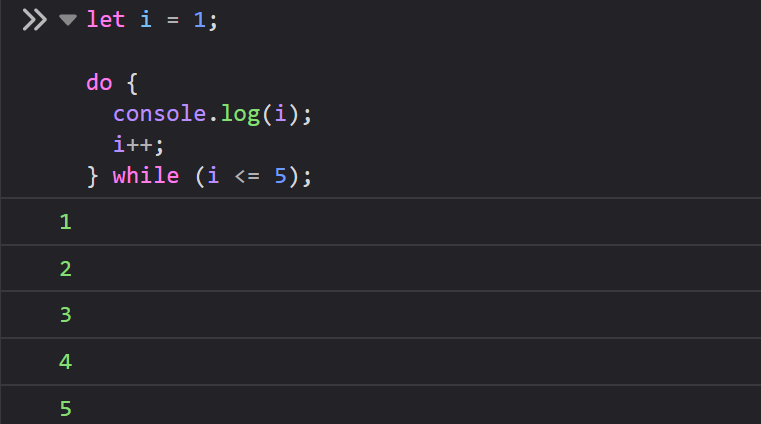
Let's understand do-while loop with an example:
let i = 1;
do {
   console.log(i);
  i++;
} while (i <= 5);
In the above example, the do-while loop is initialized with the statement, which declares a variable i and sets its value to 1. The code inside the loop console.log(i); is then executed, and the statement i++ increments the value of i by 1 every time the loop runs. After each iteration of the loop, the condition while (i <= 5) is evaluated. If the condition is true, the loop continues to execute. If the condition is false, then the loop will stop.
See the output in the browser's console:
Remember the do-while loop is guaranteed to be executed at least once then it will evaluate the condition for the first time.
It's important to note that the
do-whileloop should be used with caution, as it can be easy to create an infinite loop if the condition for the loop is never met.
The while loop:
It is very much similar to the do-while loop, but there is one difference, in the while loop condition will be evaluated first and then the loop run, which means if the condition will not return the true value, the loop will get executed not even for the first time like the do-while loop.
For example:
let i = 11;
while (i < 16) {
  console.log(i);
  i++;
}
See the output in the browser's console:

In this example, the while loop is initialized with let i = 11. The condition i < 16 is then evaluated. If the condition is true, the code inside the loop console.log(i); is then executed, and the statement i++ increments the value i by 1 every time the loop runs. If the condition will true, the loop continues to execute until the condition becomes false, then the loop will stop.
The for loop:
This loop will make things easier because the for loop is more understandable and concise, as all the required statements to define a loop are brought together in the parentheses after a for keyword.
Remember parentheses after a for keyword must contain two semicolons ( ; ; ). The statement before the 1st semicolon initializes the loop, usually by defining a variable. The second statement is the expression that determines whether the loop must continue. The final statement is used for iteration. In most cases, this is shorter and clearer than a while construct.
Syntax:
for ( /*Initialize*/; /*condition*/; /*interaion*/ ){
  // code to be executed
}
For Example:
for (let i = 0; i < 3; i++) {
  console.log(i);
}
// Output:
// 0
// 1
// 2
In this example, the for loop is initialized with let i = 0. The condition i < 3 is then evaluated. If the condition is true, the code inside the loop console.log(i) is executed and the value i is logged to the console. After each iteration of the loop, the value of i is incremented by 1 using the statement i++. The loop continues to execute until the condition i < 3 is false, at which point the loop is stopped.
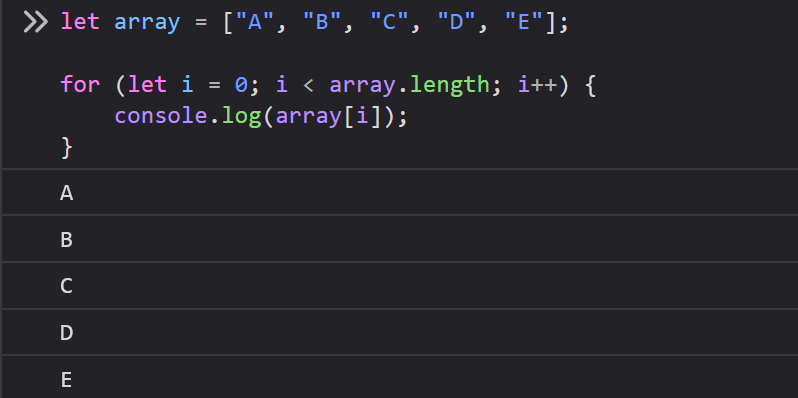
We can also iterate arrays and other data structures using the for loop.
For example:
let array = ["A", "B", "C", "D", "E"];

for (let i = 0; i < array.length; i++) {
    console.log(array[i]);
}
See the output in the browser's console:
Breaking Out of a Loop:
The break statement:
This statement is used to untimely exit a loop & stop the loop from execution. If the program control hits a break statement in the loop, it immediately terminates the loop & the program control resumes after the loop.
For example:
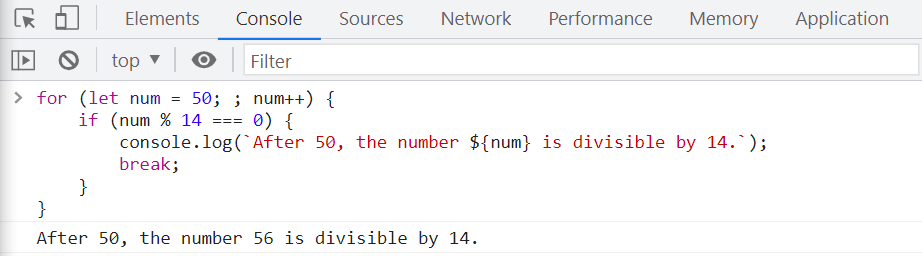
for (let num = 50; ; num++) {
    if (num % 14 === 0) {
        console.log(`After 50, the number ${num} is divisible by 14.`);
        break;
    }
}
In the above example, we defined a for loop to start at the number 50 and continuously increment it until a number divisible by 14 is found. The loop checks if num is divisible by 14 using the modulus operator and if statement. When a number satisfied the condition, it stopped the loop with the break statement.
The output would be in the browser's console:
The continue statement:
This statement is used to skip the current iteration of a loop and move on to the next one. When a continue statement is encountered inside a loop, the current iteration is skipped and the next one begins.
For example:
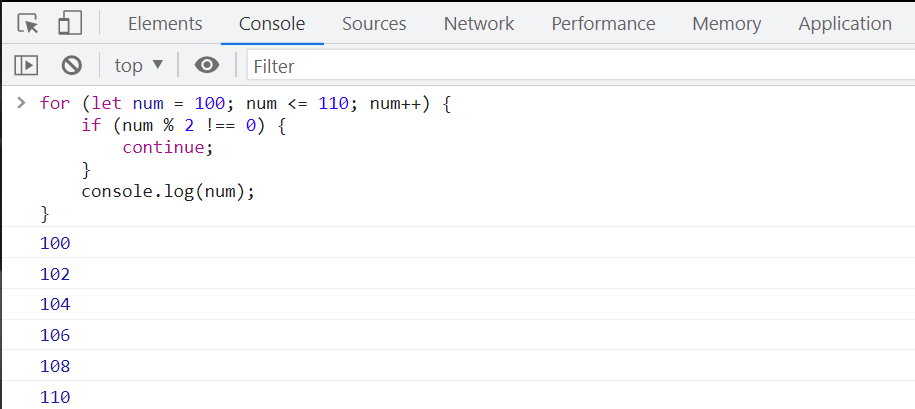
for (let num = 100; num <= 110; num++) {
    if (num % 2 !== 0) {
        continue;
    }
    console.log(num);
}
We defined a for loop with a variable num starting from 100 and going up to 110, incrementing by 1 each time. If the number is not divisible by 2 (odd), we use the continue statement to skip over that iteration and continue with the next. If the number is divisible by 2 (even), we log it to the console using console.log(num).
The output would be in the browser's console:
Both
breakandcontinuestatements can be used to control the flow of execution in loops, making it easier to write complex and efficient programs. However, they should be used with care, as using them inappropriately can lead to unexpected results and make code harder to understand. So I recommend you do not use it when is not necessary.
Conclusion:
Loops are a powerful tool in JavaScript and are used extensively in web development. Understanding the different types of loops and how to use them effectively is crucial for any programmer. I hope this article has given you a deeper understanding of the different types of loops available in JavaScript, such as do...while loop, while loop, and for loop. With the examples provided, you should now have a better understanding of how these loops can be used to accomplish different tasks. Whether you're just starting with JavaScript or looking to improve your coding skills, I hope this article has provided valuable insights that will help you on your journey.
A Loop is one of the six fundamentals of JavaScript. In this article, we have learned about it. I have also covered the other five fundamentals in my articles individually. You can find them below:
Thank you for reading. Feel free to comment on this, if found it useful.
Happy learning.😇😇😇


